Recommended Posts


HOW TO MAKE AN ANIMATED SPLINTERLAND BANNER - BASIC TUTORIAL
3 comments
Hello Splintermates, Praetorians and fellow Hiveans,
Today i wanna share how to make an animated splinterland banner. I had been using a free canva https://www.canva.com/s/templates to improve my splinterland challenge blog banner and praetorian land blog banner. I started using canva over a months ago during conclave arcana presale. That time my first GIF that i made take me around 4 hours to finish it. I just search in the internet how to do it then watch tutorials on youtube videos to finally make my first GIF. Now i had been doing it on my previous splinterlands, praetorian and hive blogs. So i'm sure what i will share here is basic and hope you can follow it.

WHAT IS A BANNER
A blog banner is an essential element of any blog. It is the first thing that a reader sees when they visit your blog. The banner should capture the reader's attention and entice them to explore your content further. A good blog banner should be visually appealing, informative, and easy to read. Usually i include the thing that i will feature, logos and titles or write ups that is i like to be added. In simple words, a banner is a picture that speaks a thousand words

REASON IN MAKING GOOD YOUR BLOG BANNER
I previously joining @splinterlands social and community engagement challenge and one of the requirements is this:


BASIC STEPS IN MAKING YOUR OWN SPLINTERLAND OR HIVE BLOG BANNER
In this tutorial i am going to use canva. And i will feature the incoming Yaba's Pickle and Tasoshi Drakamoto to be used in the banner.
STEP 1:
Prepare all the images or videos you need in to be added in the banner. As much as possible put in one folder to access later on when uploading images or videos.
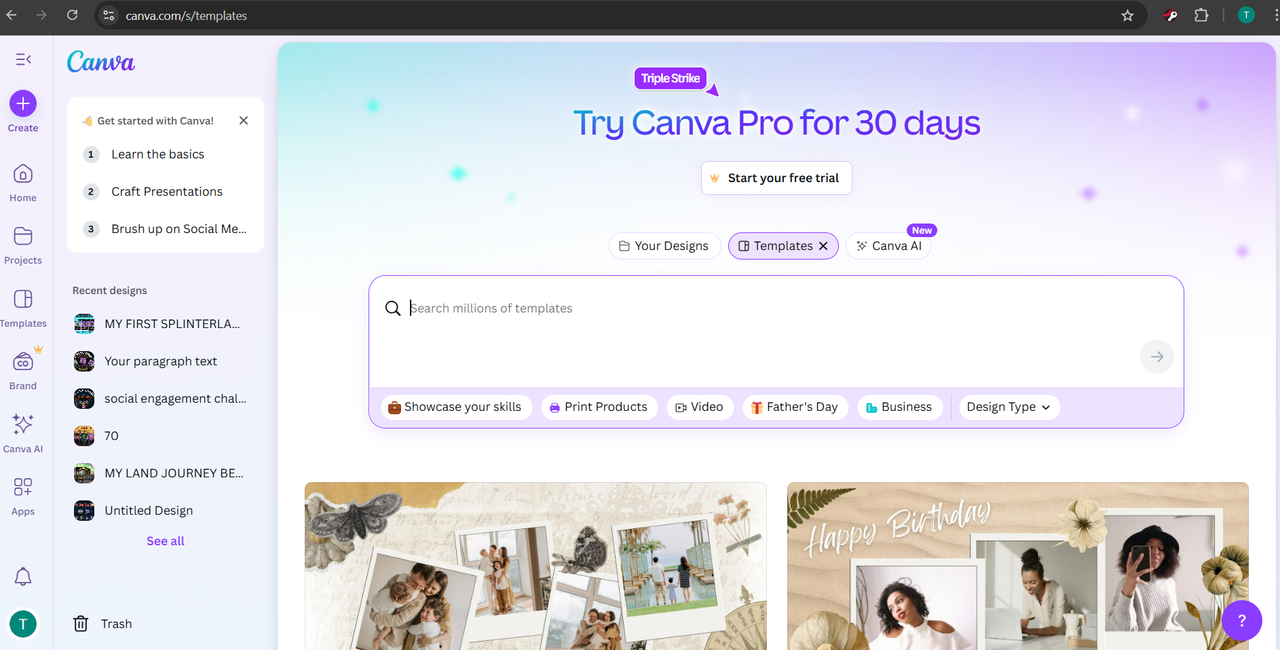
STEP 2: Login to your canva or create it if you don't have one. Canva has a free feature so we will be using that one . (https://www.canva.com/s/templates)
A. After logging in click on VIDEO then below create a blank video. There are available format that you can use but i would like to show how to begin it from blank. The size of video we used the one provided as it is exactly fitted to the size we need.
STEP 3: TEXT
A. Add text or any title you want .Take note what we will be doing to the text is almost exactly what we will be doing on the image or videos. Click on T or add heading then write the title you want to write.
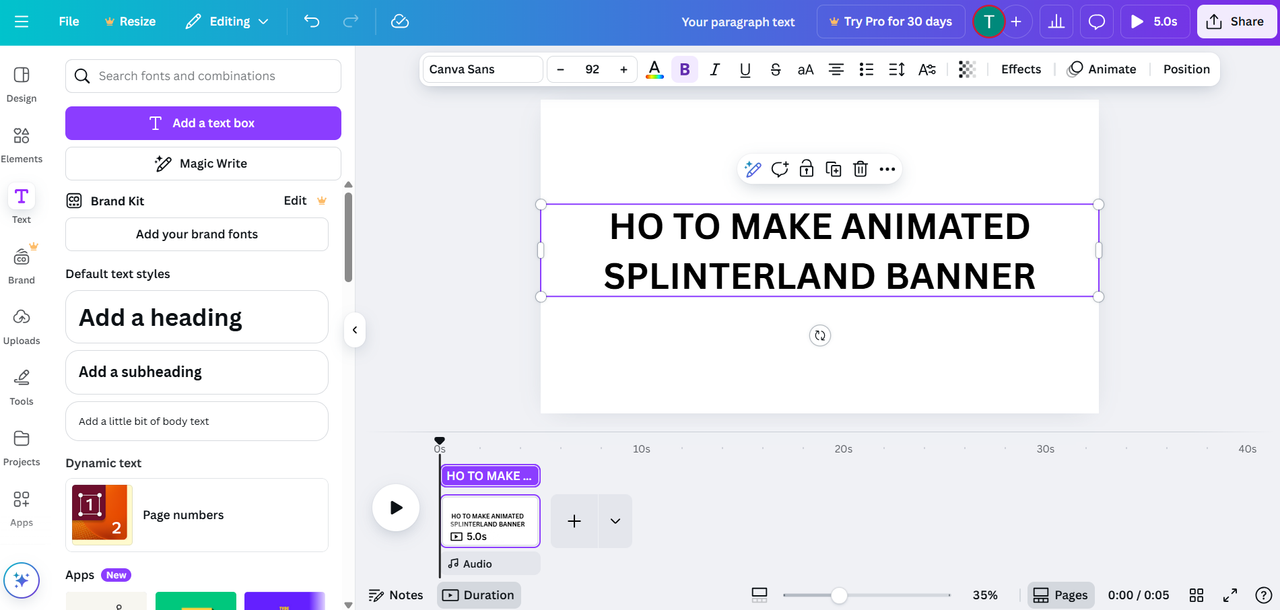
B. Add effects on text. To add effects on text click on the text you wrote then click on effects then choose any effects you want.
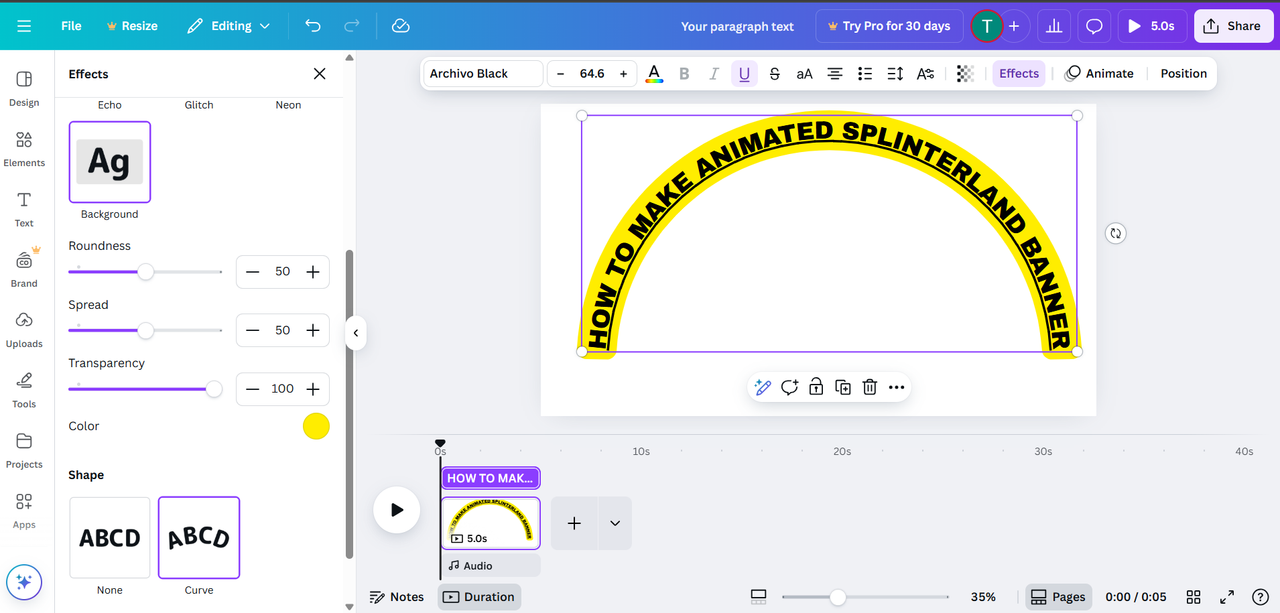
C. Animate the text/title you provided. To add animation again click on text you provided then click animate then choose your desired animation.
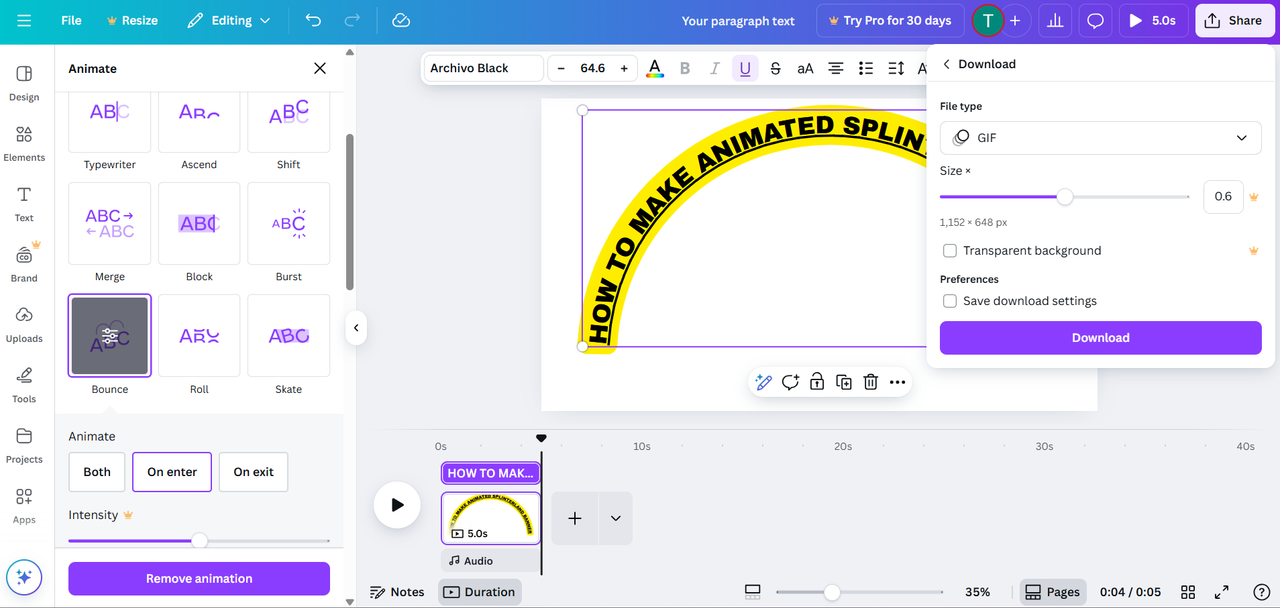
D. Download. (That is if Wwe only wanted an animated text ) To download as GIF click share , click download, then click gif then press downlaod.

STEP 4: IMAGES / PHOTOS
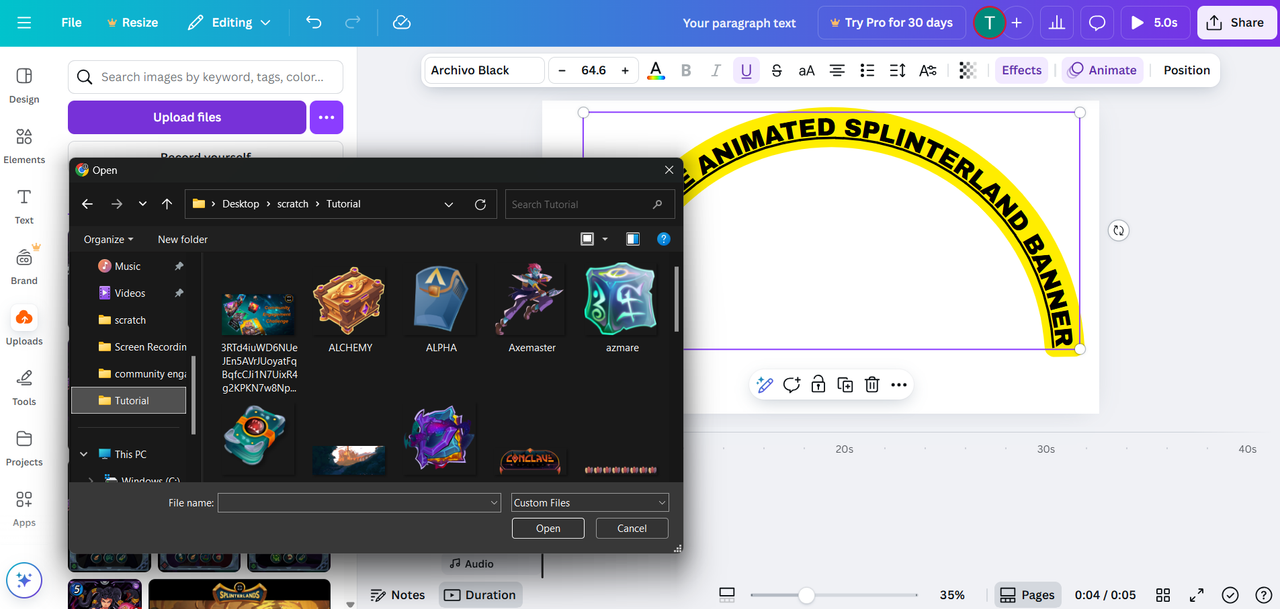
A. Adding images (Make sure to put all the image or videos you want to appear on your banner in one folder to easily upload it. To upload image click on upload files then add all your desired image to be included in the banner.
B. After uploading all the images, put it on the working space
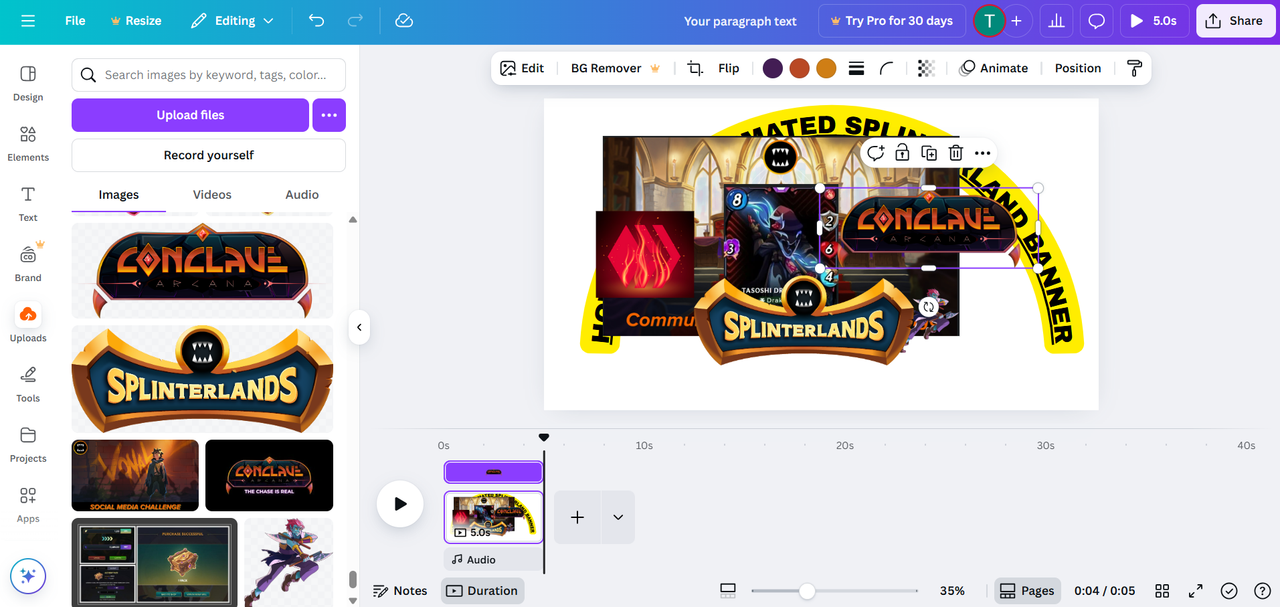
C. Position and resize all the image to your desired location. You can flip any image just by clicking the image you want to flip or rotate.
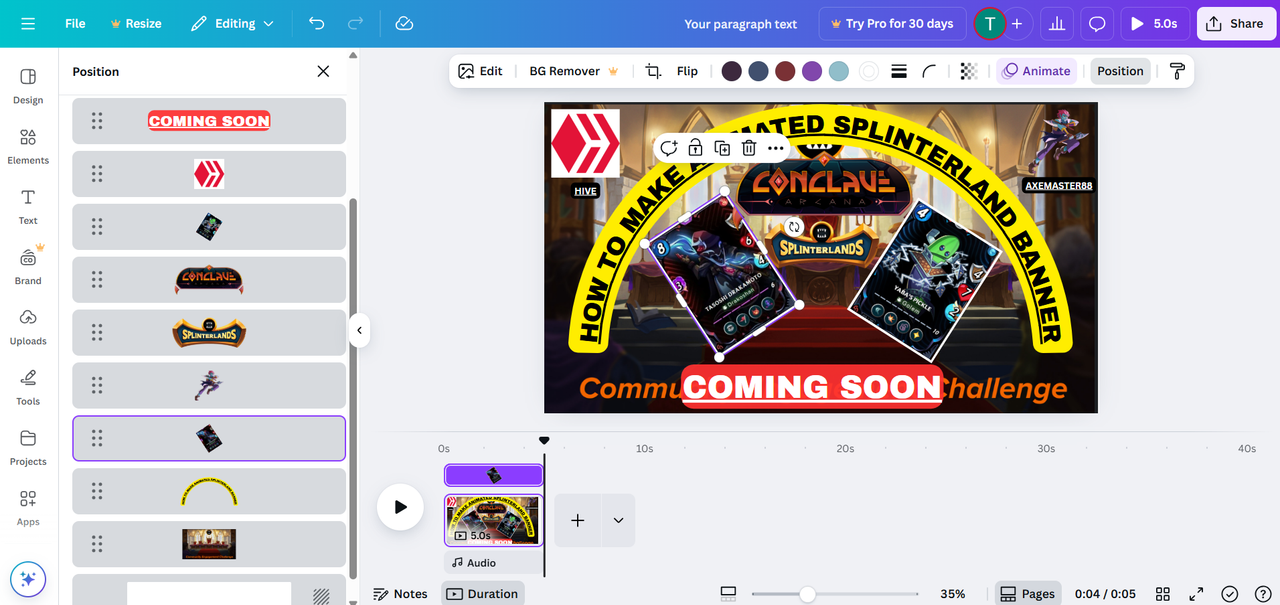
D. Layering. This one is important after resizing your images and positioning . You can click any picture then click layer and it will show like below. Now drag the photo to which sequence you prefer on which photo will be infront and which one will be in the back.
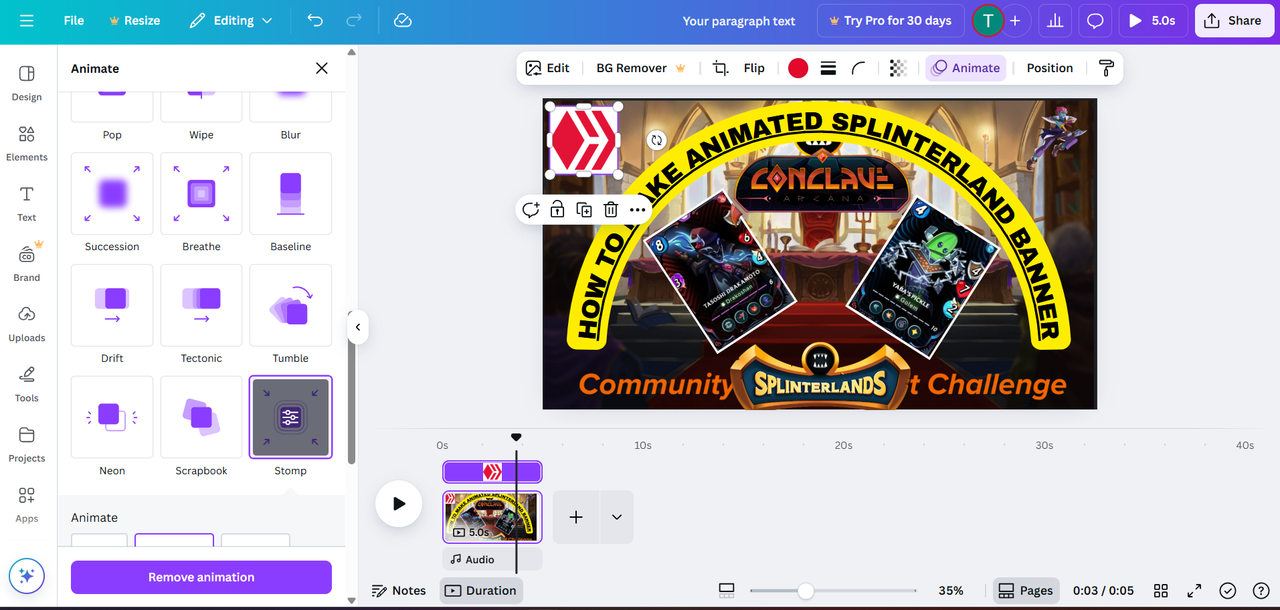
E. Animate . After positioning and layering you can start to animate each image. Like what you did on text click on the picture you want to animate then choose animation what you prefer.
F. Add text if you want to add some text like including your ign. Then the same procedure add effects and animate it.
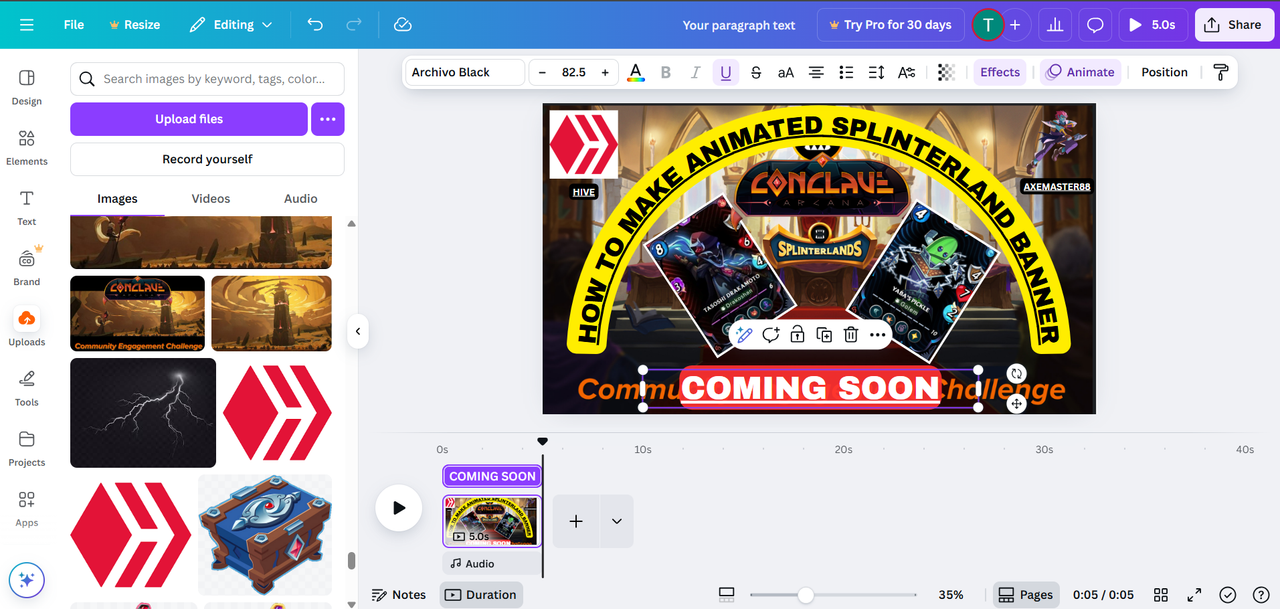
G. Download to GIF same procedure with text. Click download then click desired format. For this we are selecting GIF. then download it.

For me this is already quite good... But if you want more lets proceed with adding videos
STEP 5: VIDEOS
A. Adding videos. Same procedure with uploading image. You can upload any videos you like. But for this presentation i like to use the free videos provided by canva.
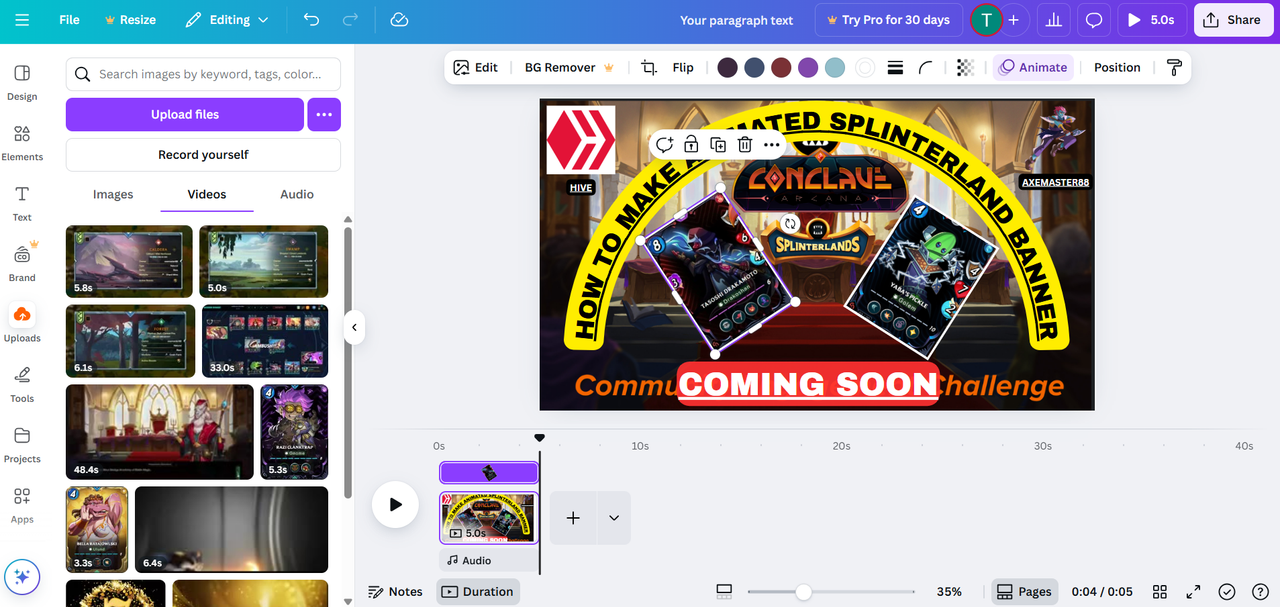
B. Click element then insert the video you like
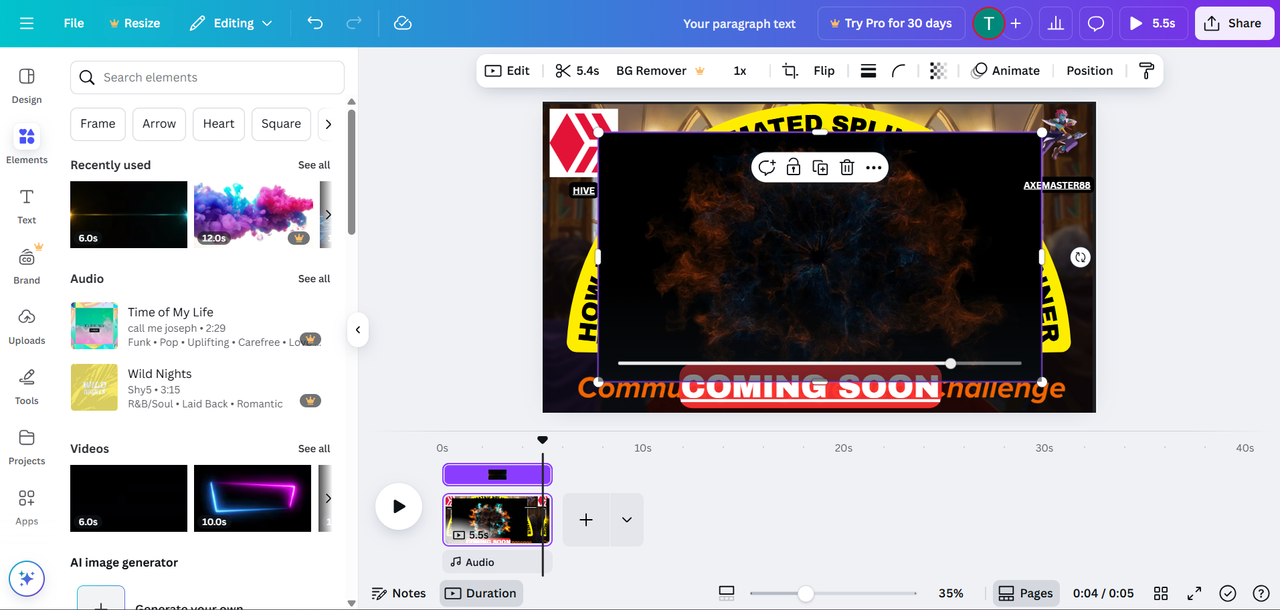
C. Arrange the sequence you like. Just click any image or video then click layer . Then rearrange to what layer you prefer. Readjust the video to cover all frame same as what you did to the image
D. Animate the video as same with what you did with the images/photos

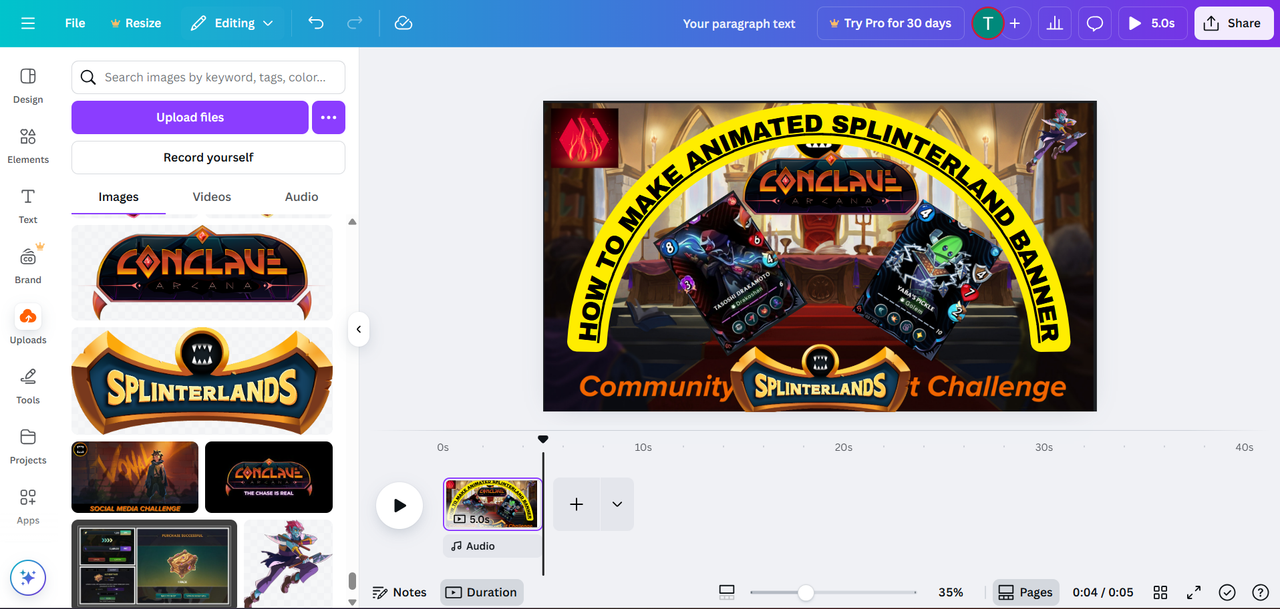
E. Now you have an animated GIF (The banner used is the final output)
FINAL OUTPUT
FINAL TOHOUGHTS
I hope you can do now your own banner. Same procedure with text, image/photo and videos. You can add effect each animate then layer . Then in one animated GIF you can combine them all in a 5 seconds GIF . Wish you luck...
.....VONAK ....


Comments