Beautiful ZigZag Style Bracelet Inspired By Arachlythe
1 comment
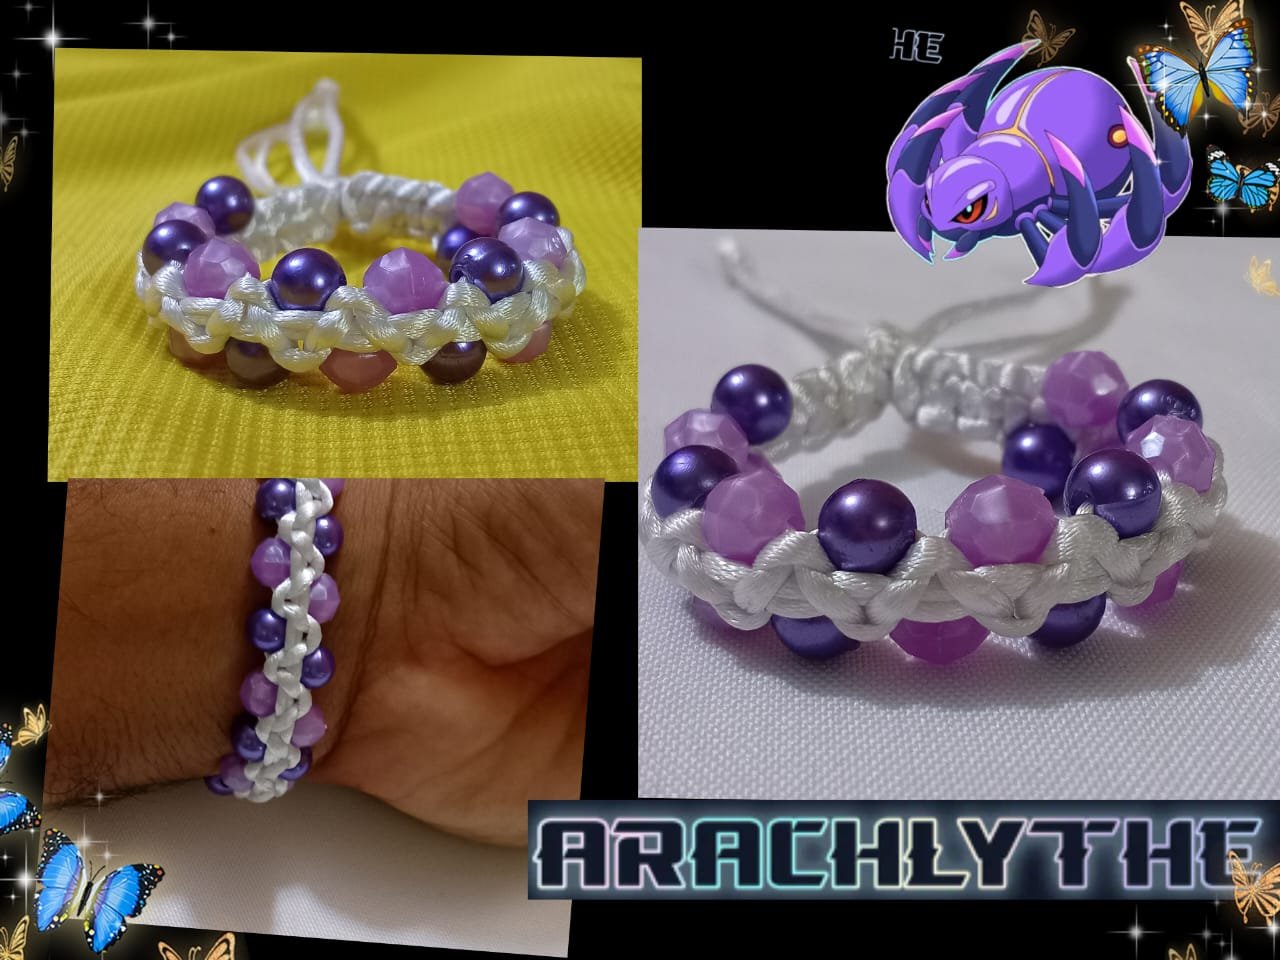
Hello #holozing community, I am delighted to greet you and wish you a happy and blessed start to the week. On this occasion, I am sharing some fan art inspired by one of the new creatures called Arachlythe.
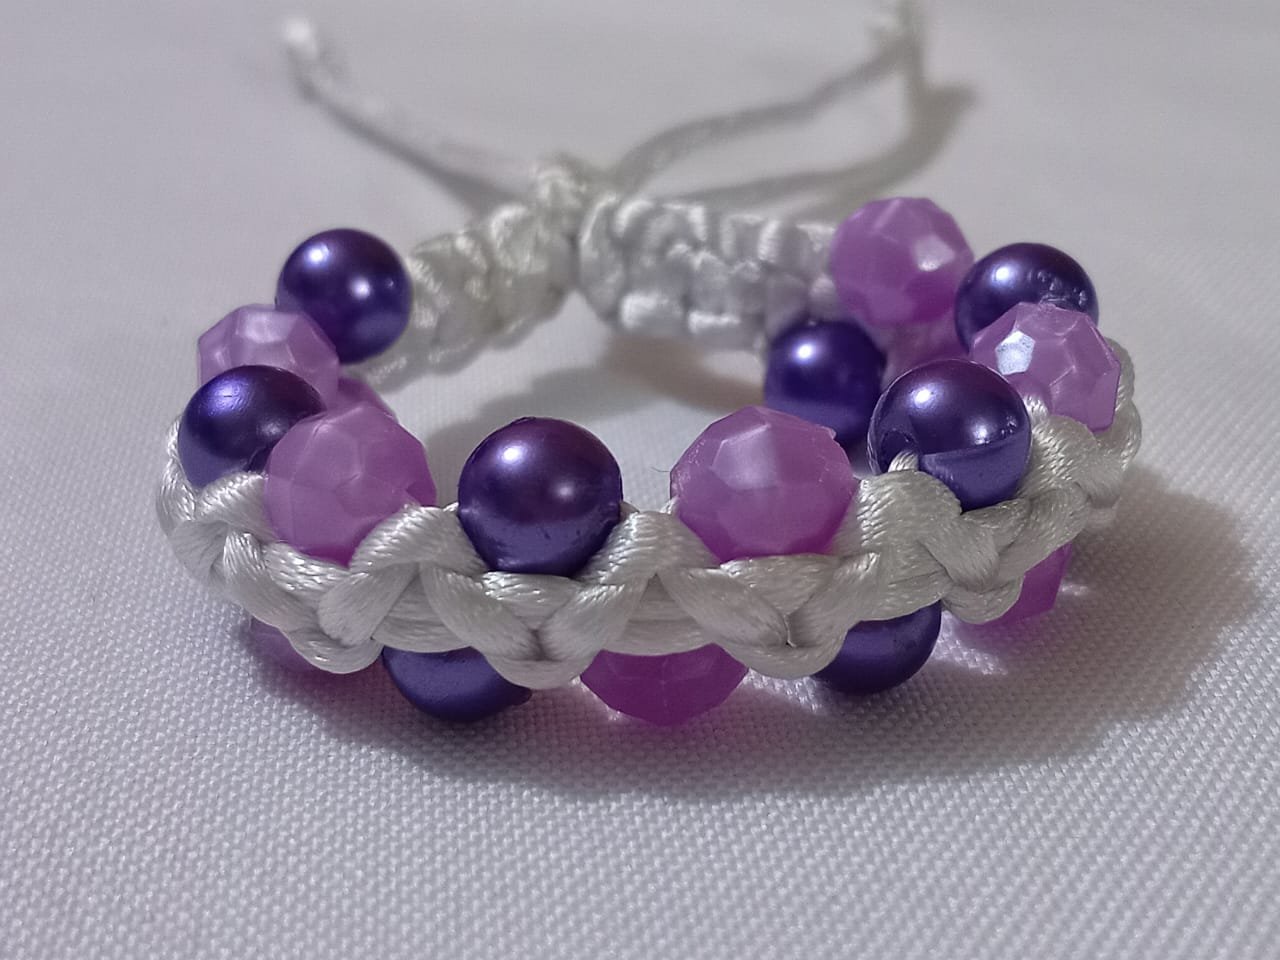
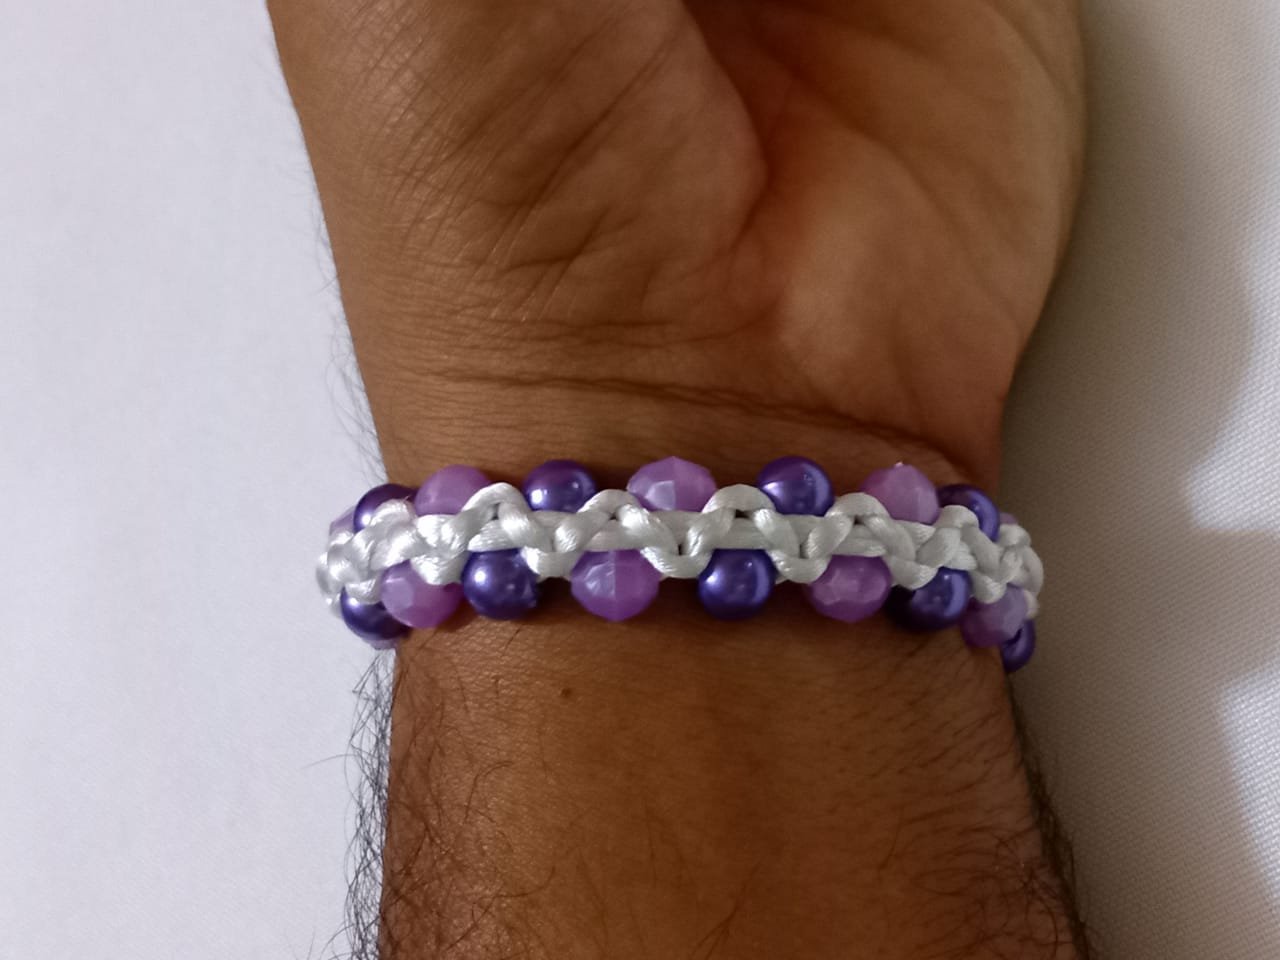
My fan art is a personalized bracelet that stands out and offers an elegant style.
Without further ado, I invite you to join me in this fascinating creation and get started.
Hola comunidad #holozing encantado en saludarles y desearles feliz y bendito inicio de semana. En esta ocasión les comparto un fan art inspirado en unas de las criaturas nueva llamada Arachlythe.
Mi fan art es una pulsera personalizada que resaltan y brindan un estilo elegante.
Sin más tiempo que perder les invito a acompañarme en esta fascinante creación y poner manos al hilo.


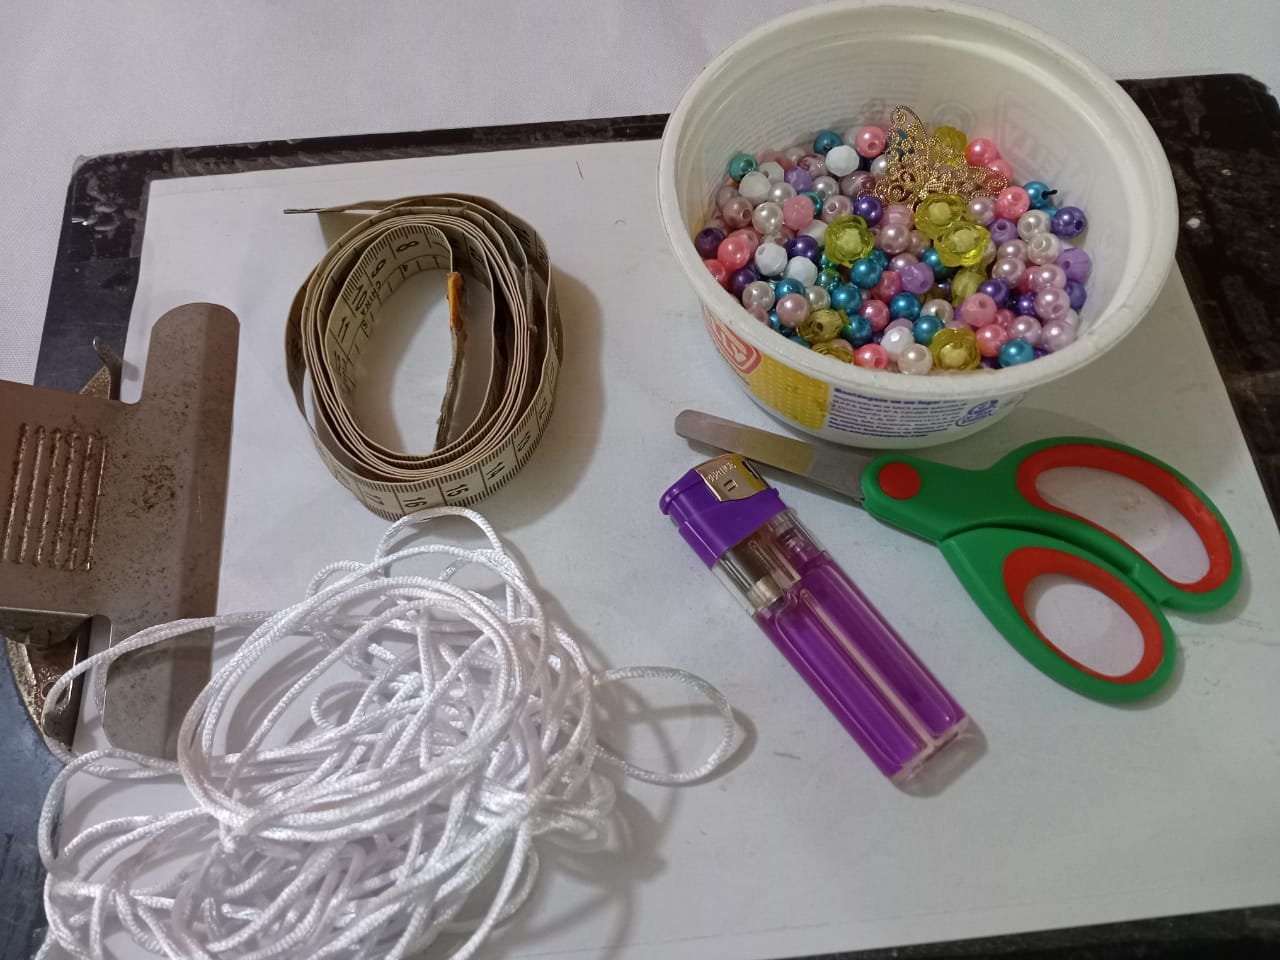
Los materiales que usé para realizar éste fan art son los siguientes:
Hilo
Tijera
Yesquero
Cinta adhesiva
The materials I used to make this fan art are as follows:
Thread
Scissors
Tape dispenser
Adhesive tape
I started by cutting a 40cm strand of yarn for the base of the bracelet
Inicié cortando una hebra de hilo de 40cm para la base de la pulsera.
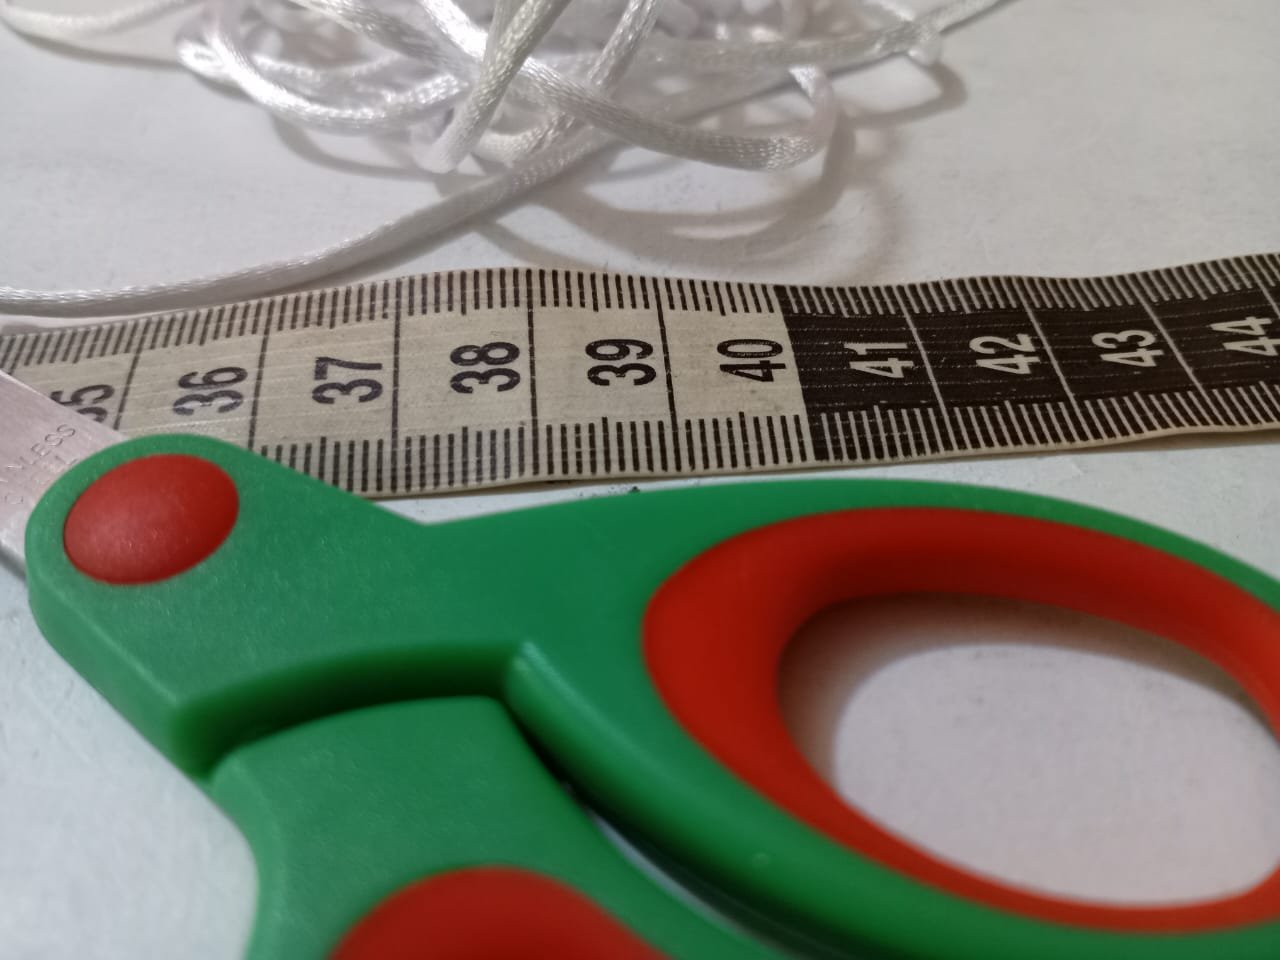
Then I cut a 130cm strand of thread to make the flat weave of the bracelet.
Después corté una hebra de hilo de 130cm para realizar el tejido plano de la pulsera.


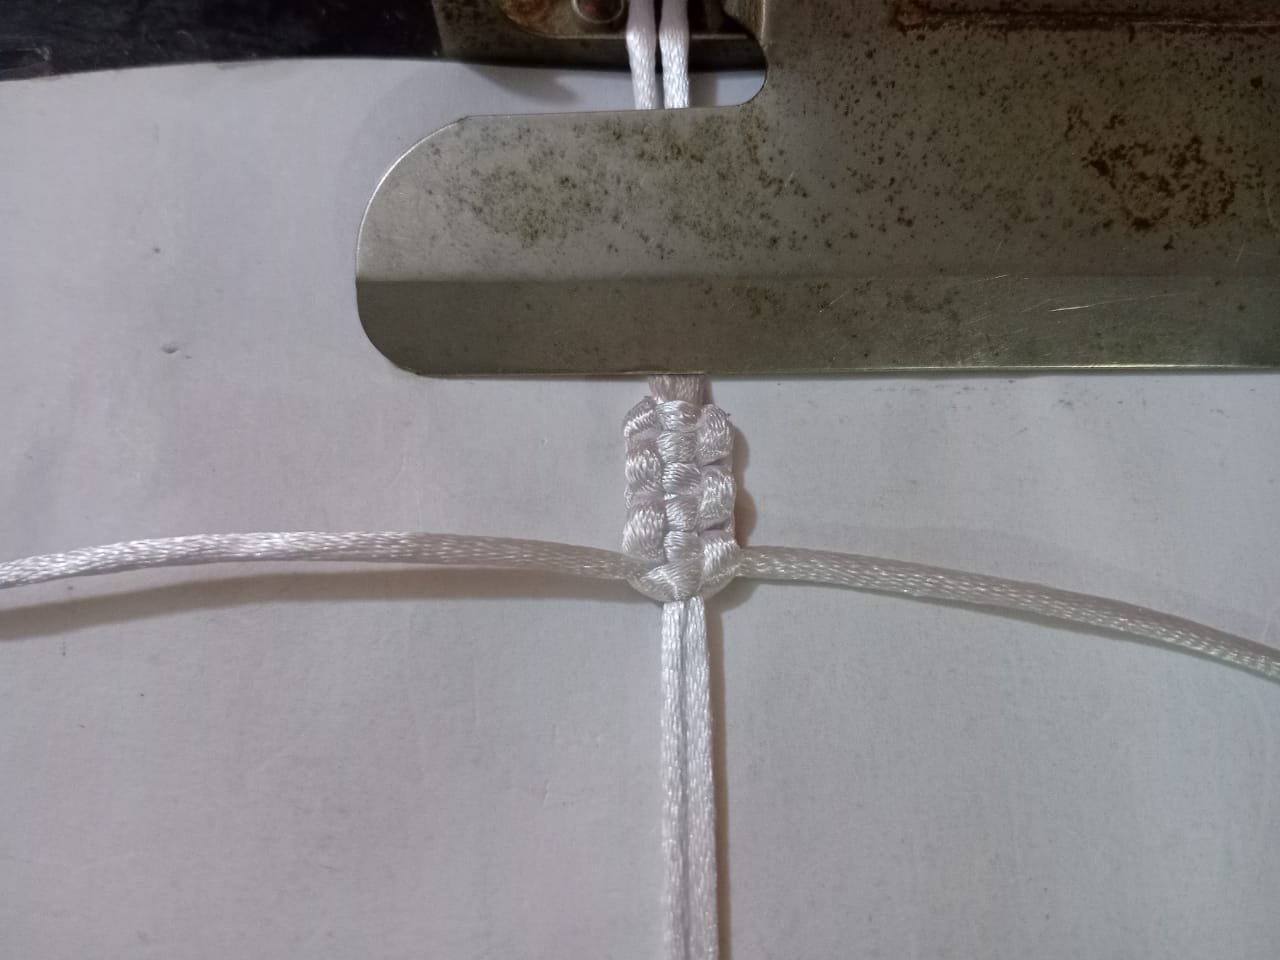
Started the bracelet by making flat knots in the following way: First I took the right strand, passed it over the base, made a P shape, then took the left strand, passed it over the right strand (which was on the left side), then passed it over the base and pulled it through the inside of the right strand (the P shape). Then I stretched the thread on each side evenly to make the knot. With your fingers you press it so that it is even on both sides and so we begin our weaving.
Inicié la pulsera realizando nudos planos de la siguiente manera: Primero tomé el hilo derecho, lo pasé por encima de la base , hice una forna de P, luego tomé el hilo izquierdo, lo pase por encima del hilo derecho (que estaba del lado izquierdo) , seguidamente lo pasé por dejado de la base y lo saqué por dentro del hilo derecho (la forma de P). Después estiré el hilo de cada lado uniformemente para hacer el nudo. Con los dedos se presiona para que quede igual de ambos lados Así comenzamos nuestro tejido.
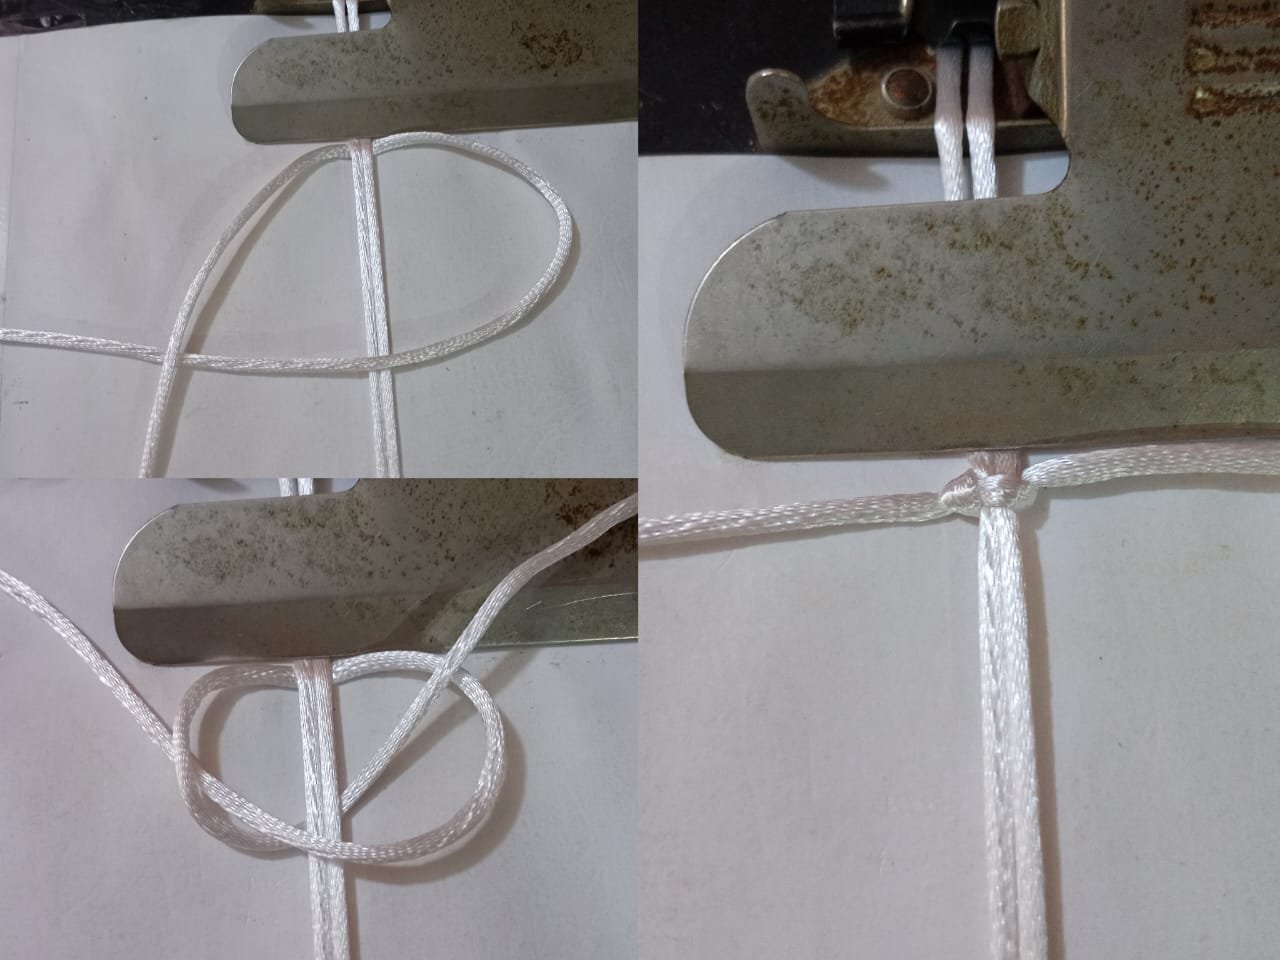
Now I took the thread on the left side and passed it over the base thread, I formed a kind of four, then I passed the thread on the right side over the left thread that we have on the right side, then I passed it under the base thread and took it out through the inside or ring of the left thread as shown in the image. Then I pressed with my fingers so that both sides have similarity.

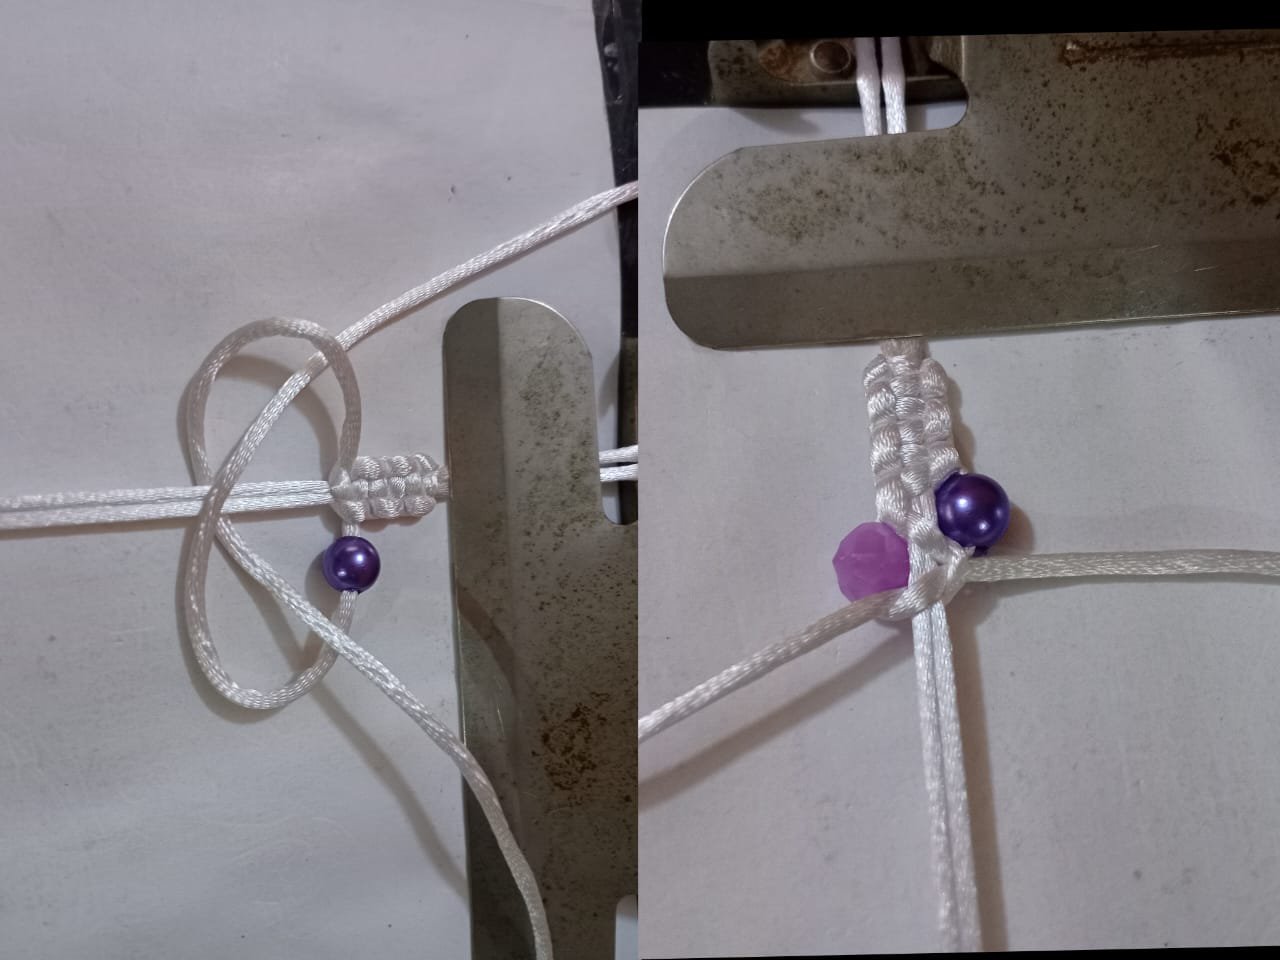
Luego introduje una perla por los hilos anudadores y realicé un nudo plano.
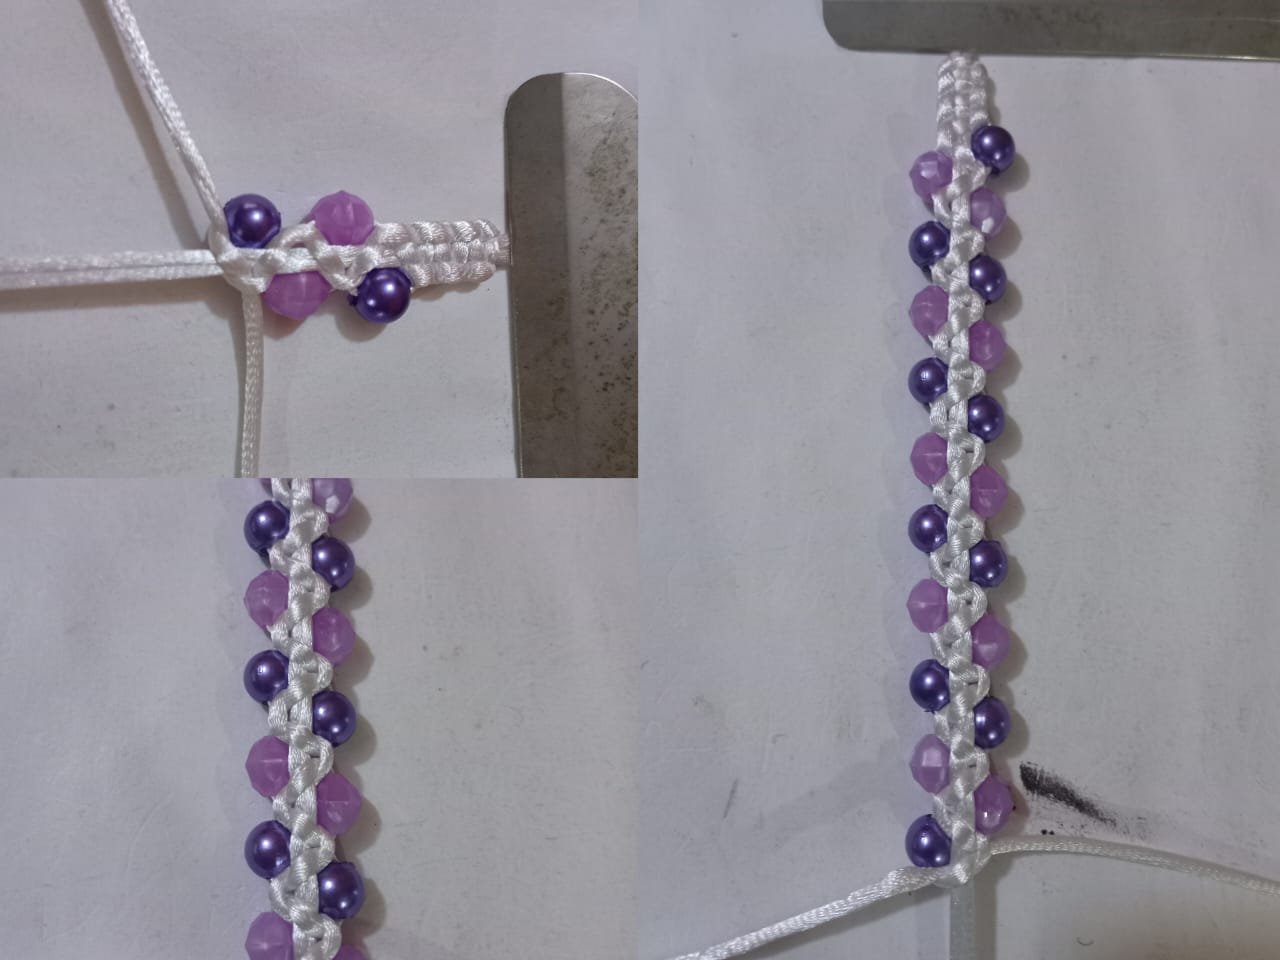
Después continué realizando el mismo procedimiento hasta llegar a la medida deseada.
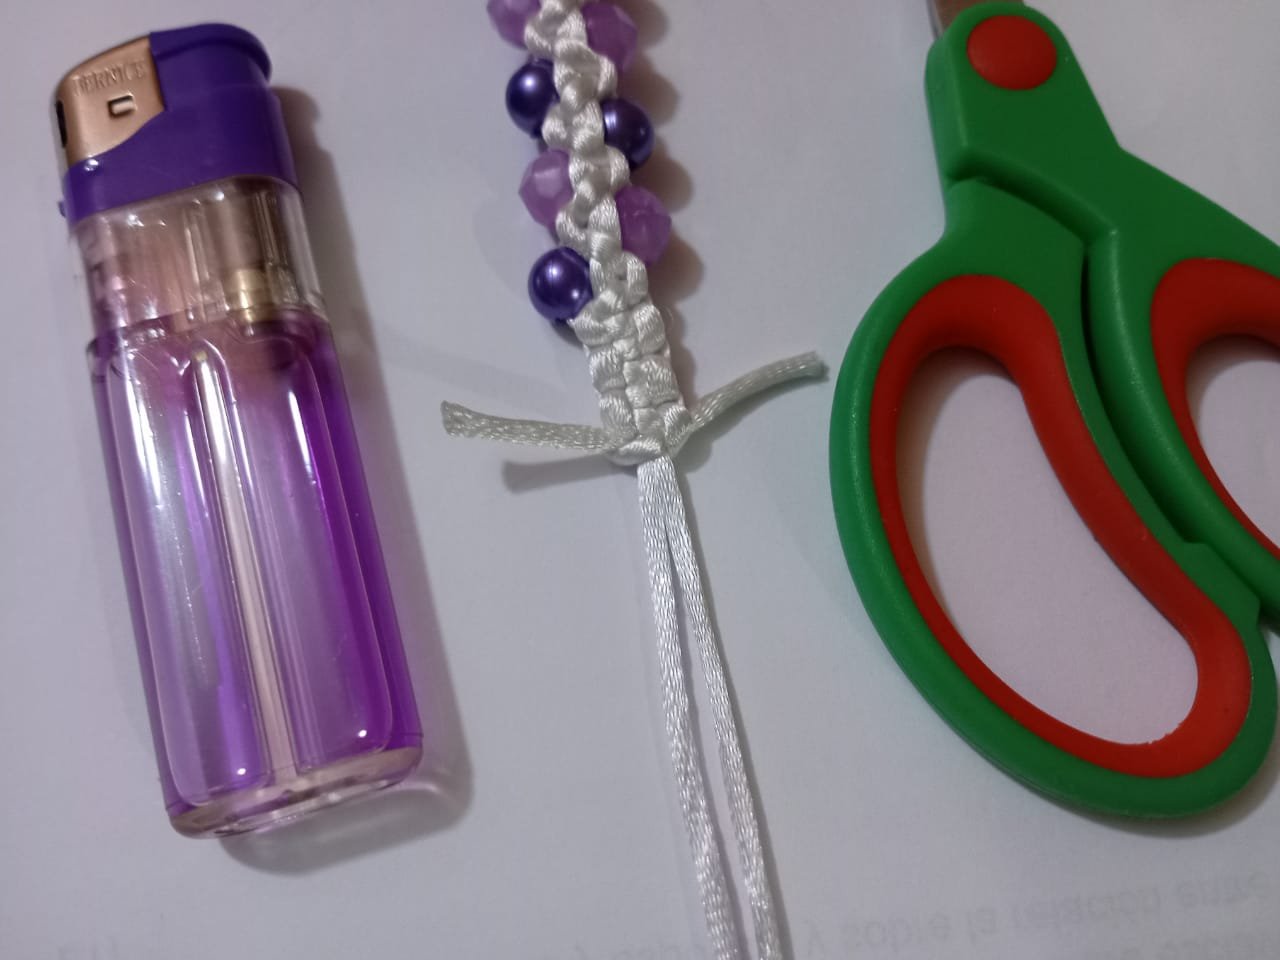
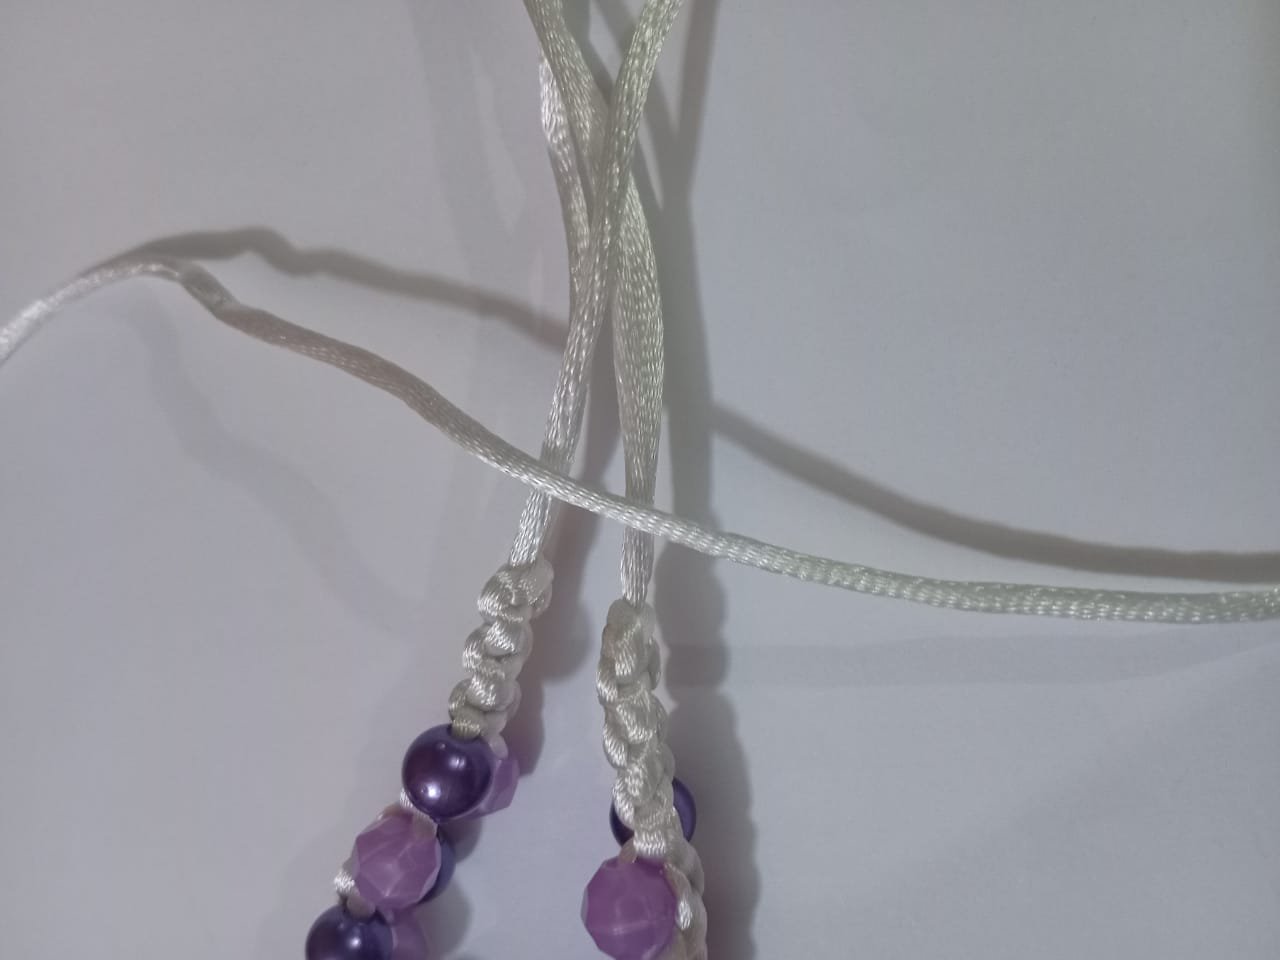
Finally I cut a 20cm strand of thread to make a Franciscan knot for the bracelet's clasp.
Finalmente corté una hebra de hilo de 20cm para realizar un nudo franciscano para el trancadero de la pulsera.

Translated with https://www.deepl.com/translator
                  All images are my own, dividers courtesy of @kattycrochet.


             Todas las imágenes son de mi autoría, divisores cortesía de @kattycrochet.


Comments